A lazy WordPress developer might ask “why should I complicate things for myself when I can just use default post types?”
But if you’re willing to pitch in a bit of extra effort at the beginning to make things easier for you later on, then this is the guide for you.
Any type of content that is added to a WordPress website is called a post type. WordPress has 7 default post types.
Default post types have labels and are used to create a basic WordPress website. For example, say you’re creating a portfolio website. Using default post types and WordPress themes, you can display your work in a neat but very simple way. Think of an early 2000’s website.
But that’s too plain, isn’t it?
Enter custom post types.
WordPress custom post types are a way to categorize the various types of content that appear on your website.
A custom post type allows you to break down each attribute and simplify content creation. You can add unique columns to your content that you can’t with default post types.
For example, adding a product page might be a custom post type for a small business. A default WordPress post may not let you add pricing details and product descriptions all in one go.
But if you’ve created a custom post type for this, you don’t have to come up with lengthy codes each time you add a new product to your website.
Custom post types also make managing a website a breeze. Instead of looking at confusing code, you’ll see easy-to-understand drop-down menus. This way, even a beginner can edit a WordPress website.
If this is confusing you, let’s get to the root of it.
There are multiple methods to revamp your WordPress website into a streamlined content management system. But everyone likes the easy way out, don’t they?
The easiest way to create custom post types is with a plugin.
Because this is WordPress we’re talking about, you have a plethora of plugins to choose from. These are some of the best.
Once you decide which plugin to use, install and activate it. There will be a new menu item in the WordPress admin menu.
Clicking on the item will show you another drop-down menu where you can customize the post type you want to create. You have to enter a URL slug and singular and plural labels.
Depending on the post type, you can choose, from drop-down menus, the columns, and other add-ons you want to include.
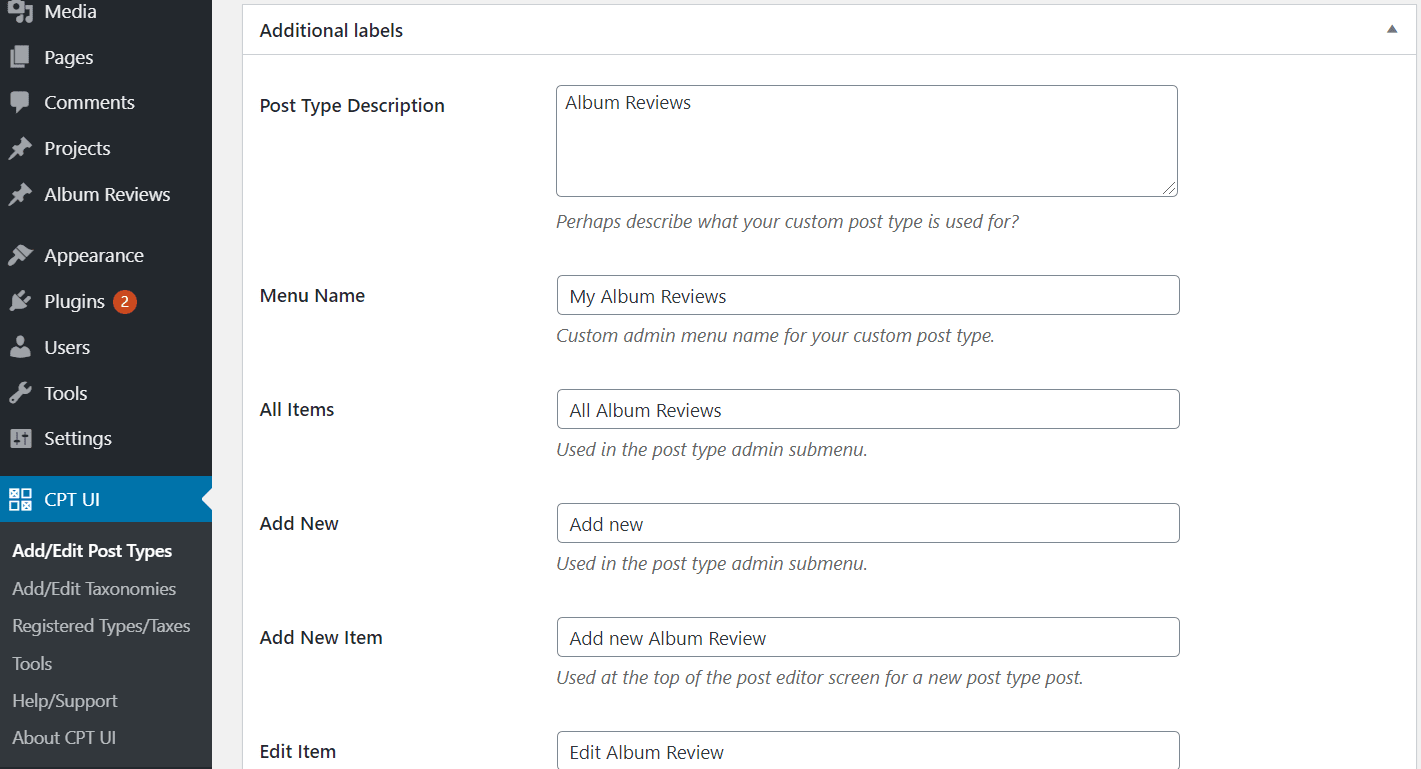
The plugin will prompt you to input various details, like hierarchy, and select attributes for the post type. The plugin will have a description of each attribute, so it’s easy for even a beginner to set up custom post types.
After this, you have to select the post editor features you want this post type to have. For example, if it’s a book review website, you may want to add the book title, author, and date of release as constant items.
Once you’ve gone through all the items, click on the “Add Post Type” button. From now on, the post type will be easily accessible.
This is what it’ll look like once you’ve created a custom post type.

Now, for those who like a challenge, you might prefer adding post types the manual way. Or, you can just hire a WordPress developer to do the work for you.
In this method, you are essentially creating a plugin to input custom post types. Many WordPress developers prefer this method since it gives them full control over the menu items. An experienced WordPress developer can style them in unique ways that a plugin doesn’t facilitate.
You are also less likely to lose your custom post type if you update or change your theme when you create it the manual way. And if a plugin is accidentally removed, accessing and editing the information held within the plugin will be a pain.
Here, we’ll take you through the basic steps of creating custom post types with code.
You can now add posts like you normally would on a WordPress website.
Implementing the code method may not be possible for everyone. Basic coding knowledge is required. So, hiring a WordPress developer might be necessary, at least to get this part set up.
Before you hire a WordPress developer, look at their portfolio to see if they’ve done this in the past. If the WordPress developer is vetted, that’s even better.
Though developers have previously stuck with default post types in the past, it’s time we moved on. Implement custom post types in your website to streamline and enhance content creation.